


Aroid Potting Mix: A Simple Recipe and How to Adjust It
TL;DR
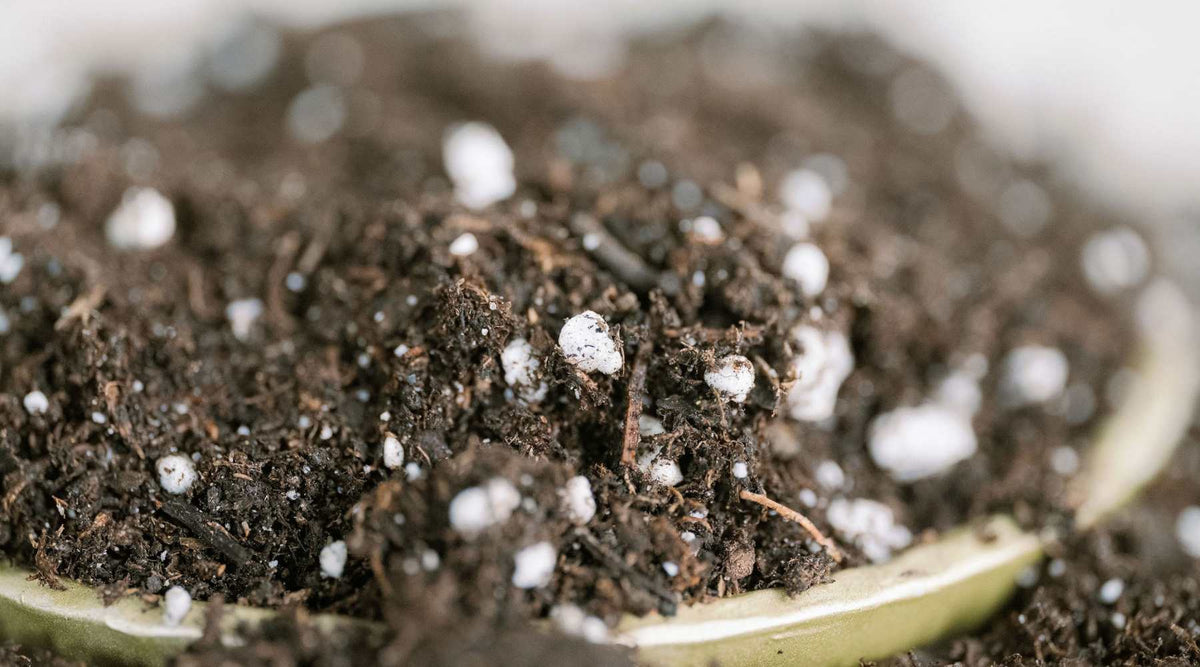
Start with a mix that wets evenly, leaves space for air and keeps moisture available between waterings. For an established, top-watered aroid, try two parts houseplant potting mix, one part perlite and one part small horticultural bark. Treat that as a trial recipe, then adjust one ingredient at a time. A baby Alocasia and a mature Monstera do not need identical textures.
What roots need
“Aroid mix” describes a growing medium for plants such as Alocasia, Monstera and Philodendron. There is no single official recipe. Roots need both water and oxygen; the useful question is whether your particular mix provides them in your particular pot.
A medium can look beautifully chunky on Instagram and still be inconvenient in a dry living room. Conversely, a fine mix can hold water for too long around a small root system. Choose for the roots and your watering routine, rather than the photograph.
Use material sold for container growing. Garden soil can lose useful air spaces when dug up and placed in a pot, while potting media are formulated for that environment. [1]
A starter recipe
For an established plant in a pot with drainage, watered from above, try this starting mixture by volume:
- Two scoops of peat-free houseplant potting mix. Choose a product labelled for indoor container plants, not outdoor topsoil.
- One scoop of horticultural perlite. It adds persistent air spaces. Dampen it before handling to reduce dust. [1]
- One scoop of small horticultural bark. Use a processed potting ingredient, not landscaping mulch. [1]
One scoop can be a small cup or a measuring jug. For a roughly 1 litre (34 US fl oz) batch, use 500 ml (17 US fl oz) of potting mix and 250 ml (8.5 US fl oz) each of perlite and bark. Volumes are approximate because particles settle.
This is a practical trial recipe, not a scientifically established optimum for every aroid. Commercial mixes already differ: if yours contains plenty of bark and perlite, adding the full amounts again may make it excessively coarse.
Already have a ready-made aroid mix? Try it as supplied first. You do not need to buy three more ingredients to turn a suitable finished product into a homemade one.
Check the bag for existing fertiliser and feeding instructions. Different peat-free formulations have different nutrient arrangements, so do not immediately add a full feed plus slow-release granules to an already fertilised mix. [2]
Adjust for your plant
Small roots and baby plants
Choose a finer texture that settles gently around the roots. For a first trial, use three scoops of houseplant mix and one of perlite, leaving out the large bark pieces. Check the starting mix before adding anything: a suitable propagation product may already have the texture you need.
For a corm with its first delicate roots, do not push huge chunks around it. Fill gently and keep the growing point above the surface. Fresh tissue-culture plants have additional humidity needs; follow the tissue-culture acclimation guide for that stage.
A dry room or thirsty plant
If the starter mix dries before you can reasonably water, trial three scoops of houseplant mix, one of perlite and one of small bark on your next repot. Keep a note of what changed. A small plant beside a radiator may also need a better position, rather than a completely different recipe.
A humid cabinet or slow-drying pot
First check pot size and watering. If an appropriately sized pot still stays wet for too long, replace a small portion of the fine mix with perlite in your next trial. Do not jump straight to an almost bark-only mixture: the roots still need reliable moisture.
These are suggested adjustments to test, not fixed species rules. Change one variable at a time so you can tell whether it helped.
Mix and repot
- Prepare a small batch. Measure your ingredients into a clean tub. Label the proportions if you are testing something new.
- Pre-moisten and mix thoroughly. Aim for evenly damp material, not dripping wet. Very dry ingredients can make the first watering uneven.
- Check pot size. Choose a growing pot that accommodates the roots without a large unused volume of wet medium. The root system matters more than the leaf span. [3]
- Set the plant at its previous depth. Keep its crown clear, spread roots naturally and fill around them without forcing the mix down.
- Water through and let it drain. For a conventional pot inside a decorative cover, empty collected runoff. Start your observations with an evenly watered pot.
Compacting the medium reduces air spaces. Settle it gently rather than packing it like a suitcase that is already over the airline limit. [1]
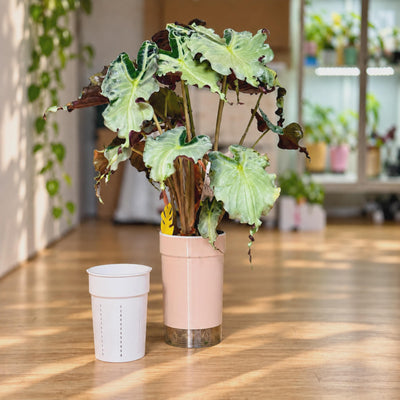
A removable inner pot makes these checks easier. Browse my pots in different shapes, colours and sizes to match the growing setup to your plant and space.
Check how it behaves
For the first few watering cycles, learn the pot's behaviour rather than picking a permanent weekday to water. Check the surface, the weight of the pot and moisture further down. A wooden skewer inserted carefully away from major roots can help reveal a damp centre, although it is a clue rather than a precise measurement.
- Dry surface, damp centre: do not water automatically because the top looks pale. Check again later.
- Water runs down the sides, but the centre stays dry: add water slowly in stages. If the medium has become difficult to wet, use a brief soak for a draining pot, then drain thoroughly.
- Water drains through and the root zone is evenly damp: fast runoff alone does not mean the mix is too coarse.
- The whole pot becomes very light quickly and leaves lose firmness: check more often, review heat exposure and consider a more moisture-retentive trial next time.
- It remains heavy and wet while the plant declines: inspect drainage, pot size and roots. Soft roots need attention; buying more bark is not the first diagnostic step.
Watering needs change with the growing environment and season. Use observations to adjust the interval; a recipe cannot supply a reliable “water every seven days” rule. [4]
Using a wick pot
A top-watered recipe is not automatically a finished wick-watering recipe. A wick needs effective contact with a medium that can move water from that contact into the root zone. Large dry gaps make that connection harder to judge.
Test the arrangement before relying on it: pre-moisten the medium and wick, assemble a spare pot and check whether moisture reaches the intended growing area. Once planted, keep checking the actual root zone instead of assuming a full reservoir means everything above it is moist.
My signature self-watering pot combines a cotton wick, removable inner pot and visible reservoir. Follow its filling instructions, including stopping before the coloured section, and use the removable insert to check how your chosen medium behaves. [5]
If you prefer a mineral medium, see the soil-to-PON transition guide for preparation and system-specific aftercare.
Common myths
- “The chunkier the mix, the healthier the roots.” Coarse ingredients can help with air spaces, but roots still need accessible water. Match the texture to root size and the way you water.
- “An aroid mix needs seven or eight ingredients.” Start with a few ingredients you understand. Add another only to solve an observed problem, not to complete a social-media shopping list.
- “Sand automatically improves drainage.” Its behaviour in a container differs from its behaviour in the ground. Perlite is a more straightforward ingredient to trial for added air spaces. [1]
- “Organic on the bag means peat-free.” Look for the explicit peat-free label; those terms are not interchangeable. [2]
FAQ
Can I use the same mix for all my aroids?
You can start with one recipe for comparable established plants, then adjust for fine roots, different pot sizes and growing conditions. A shared label does not make a baby Alocasia and a large Monstera identical watering jobs.
Can coir replace the potting mix?
Coir is an ingredient, while a finished potting mix is a formulation that may also contain fertiliser and other amendments. If using straight coir, check its preparation instructions and plan the nutrient supply. It retains water well but does not have the same nutrient-holding properties as every other growing material. [2]
Should I replace a working mix immediately?
If the roots are healthy, growth is good and watering is manageable, keep using it. Repot when there is a reason, such as crowding or deteriorating medium, rather than because someone has posted a more photogenic recipe.
Ask a question
Tell us your plant, approximate pot size, current ingredients and growing location. Is it on a windowsill, in a cabinet or under lights? Describe whether the centre stays wet or the whole pot dries quickly. If you have found a simple mix that works, share the proportions and conditions too.
 Monstera and Philodendron Aerial Roots: Guide, Leave or Trim?
 Repotting a Moss-Pole Plant into a Self-Watering Pot
 Self-Watering Moss Poles: Setup, Refills and Troubleshooting
Comments